
Creating a RecyclerView with binding and itemDecoration
The RecyclerView is a powerful tool for efficiently displaying data lists in Android applications. It is particularly useful when dealing with large datasets or dynamic lists, allowing the recycling of views and thereby improving performance compared to ListView. Additionally, RecyclerView offers a flexible and extensible architecture that simplifies the implementation of complex layouts, such as lists with different types of items.
Why use View Binding?
View Binding in Kotlin simplifies the interaction between the presentation layer (XML) and the logic layer (Kotlin). It generates a binding class for each XML layout file, providing direct access to views without the need for ‘findViewById’. This not only reduces boilerplate code but also helps prevent runtime errors associated with view lookups. In the context of RecyclerView, View Binding streamlines the view initialization process and enhances code readability.
How to configure to use View Binding
To incorporate View Binding into your project, add the following lines to the build.gradle file of your module:
android {
    ...
    viewBinding {
        enabled = true
    }
    ...
}
Make sure to sync the project after making these changes.
Adding the RecyclerView component to your view
<?xml version="1.0" encoding="utf-8"?>
<androidx.constraintlayout.widget.ConstraintLayout xmlns:android="http://schemas.android.com/apk/res/android"
    xmlns:app="http://schemas.android.com/apk/res-auto"
    xmlns:tools="http://schemas.android.com/tools"
    android:layout_width="match_parent"
    android:layout_height="match_parent"
    tools:context=".MainActivity">

    <androidx.recyclerview.widget.RecyclerView
        android:id="@+id/rv_recycler"
        android:layout_width="match_parent"
        android:layout_height="match_parent"
        android:orientation="vertical"
        app:layoutManager="androidx.recyclerview.widget.LinearLayoutManager" />

</androidx.constraintlayout.widget.ConstraintLayout>
Here we can already set the layout manager. Sometimes this must be set programatically when we want to set more advanced options, but for a vertical RecyclerView i like to add in XML so we can avoid unecessary codification.
Creating the RecyclerView item layout
Create a new layout in your ‘res’ folder. In this case, I called it ‘item_recycler’.xml. The name is an important matter as we will be using it for binding.
<?xml version="1.0" encoding="utf-8"?>
<androidx.cardview.widget.CardView xmlns:android="http://schemas.android.com/apk/res/android"
    xmlns:app="http://schemas.android.com/apk/res-auto"
    xmlns:tools="http://schemas.android.com/tools"
    android:layout_width="match_parent"
    android:layout_height="wrap_content"
    app:cardBackgroundColor="@color/my_color"
    app:cardCornerRadius="8dp">

    <LinearLayout
        android:layout_width="match_parent"
        android:layout_height="match_parent"
        android:padding="20dp"
        android:orientation="vertical">

        <TextView
            android:id="@+id/textview1"
            android:layout_width="wrap_content"
            android:layout_height="wrap_content"
            android:textSize="14sp"
            tools:text="Text" />

        <TextView
            android:id="@+id/textview2"
            android:layout_width="wrap_content"
            android:layout_height="wrap_content"
            android:layout_marginTop="10dp"
            android:textSize="14sp"
            tools:text="Text" />
    </LinearLayout>
</androidx.cardview.widget.CardView>
Creating the Adapter
Create the Adapter that extends ‘RecyclerView.Adapter’. In this case, I called it ‘ExampleAdapter’ and receive a list in its constructor. Please note that we inflate the binding in ‘onCreateViewHolder’ and do the binding in ‘onBindViewHolder’.
class ExampleAdapter(
    private val exampleList: List<Pair<String, String>>,
) : RecyclerView.Adapter<ExampleAdapter.ViewHolder>() {

    override fun onBindViewHolder(holder: ViewHolder, position: Int) {
        with(holder.binding) {
            with(exampleList[position]) {
                textview1.text = first
                textview2.text = "$second $position"
            }
        }
    }

    override fun onCreateViewHolder(parent: ViewGroup, viewType: Int): ViewHolder {
        val view = ItemRecyclerBinding.inflate(LayoutInflater.from(parent.context), parent, false)
        return ViewHolder(view)
    }

    override fun getItemCount(): Int = exampleList.size

    inner class ViewHolder(val binding: ItemRecyclerBinding) : RecyclerView.ViewHolder(binding.root)
}
Instantianting and feeding our RecyclerView
When loading the layout that our component is, we need to set our newly created adapter. Follow my main activity code:
class MainActivity : AppCompatActivity() {

    private lateinit var binding: ActivityMainBinding
    private val myAdapterList = listOf(
        Pair("First card", "Value: "),
        Pair("Second card", "Value: "),
        Pair("Third card", "Value: "),
        Pair("Fourth card", "Value: ")
    )

    override fun onCreate(savedInstanceState: Bundle?) {
        super.onCreate(savedInstanceState)
        binding = ActivityMainBinding.inflate(layoutInflater)

        this.feedRecyclerView()

        setContentView(binding.root)
    }

    private fun feedRecyclerView() {
        binding.rvRecycler.adapter = ExampleAdapter(myAdapterList)
    }

}
When we run this, we will get the result below. It’s not that pretty, as the cards are all glued to the screen and there is no margin between them.
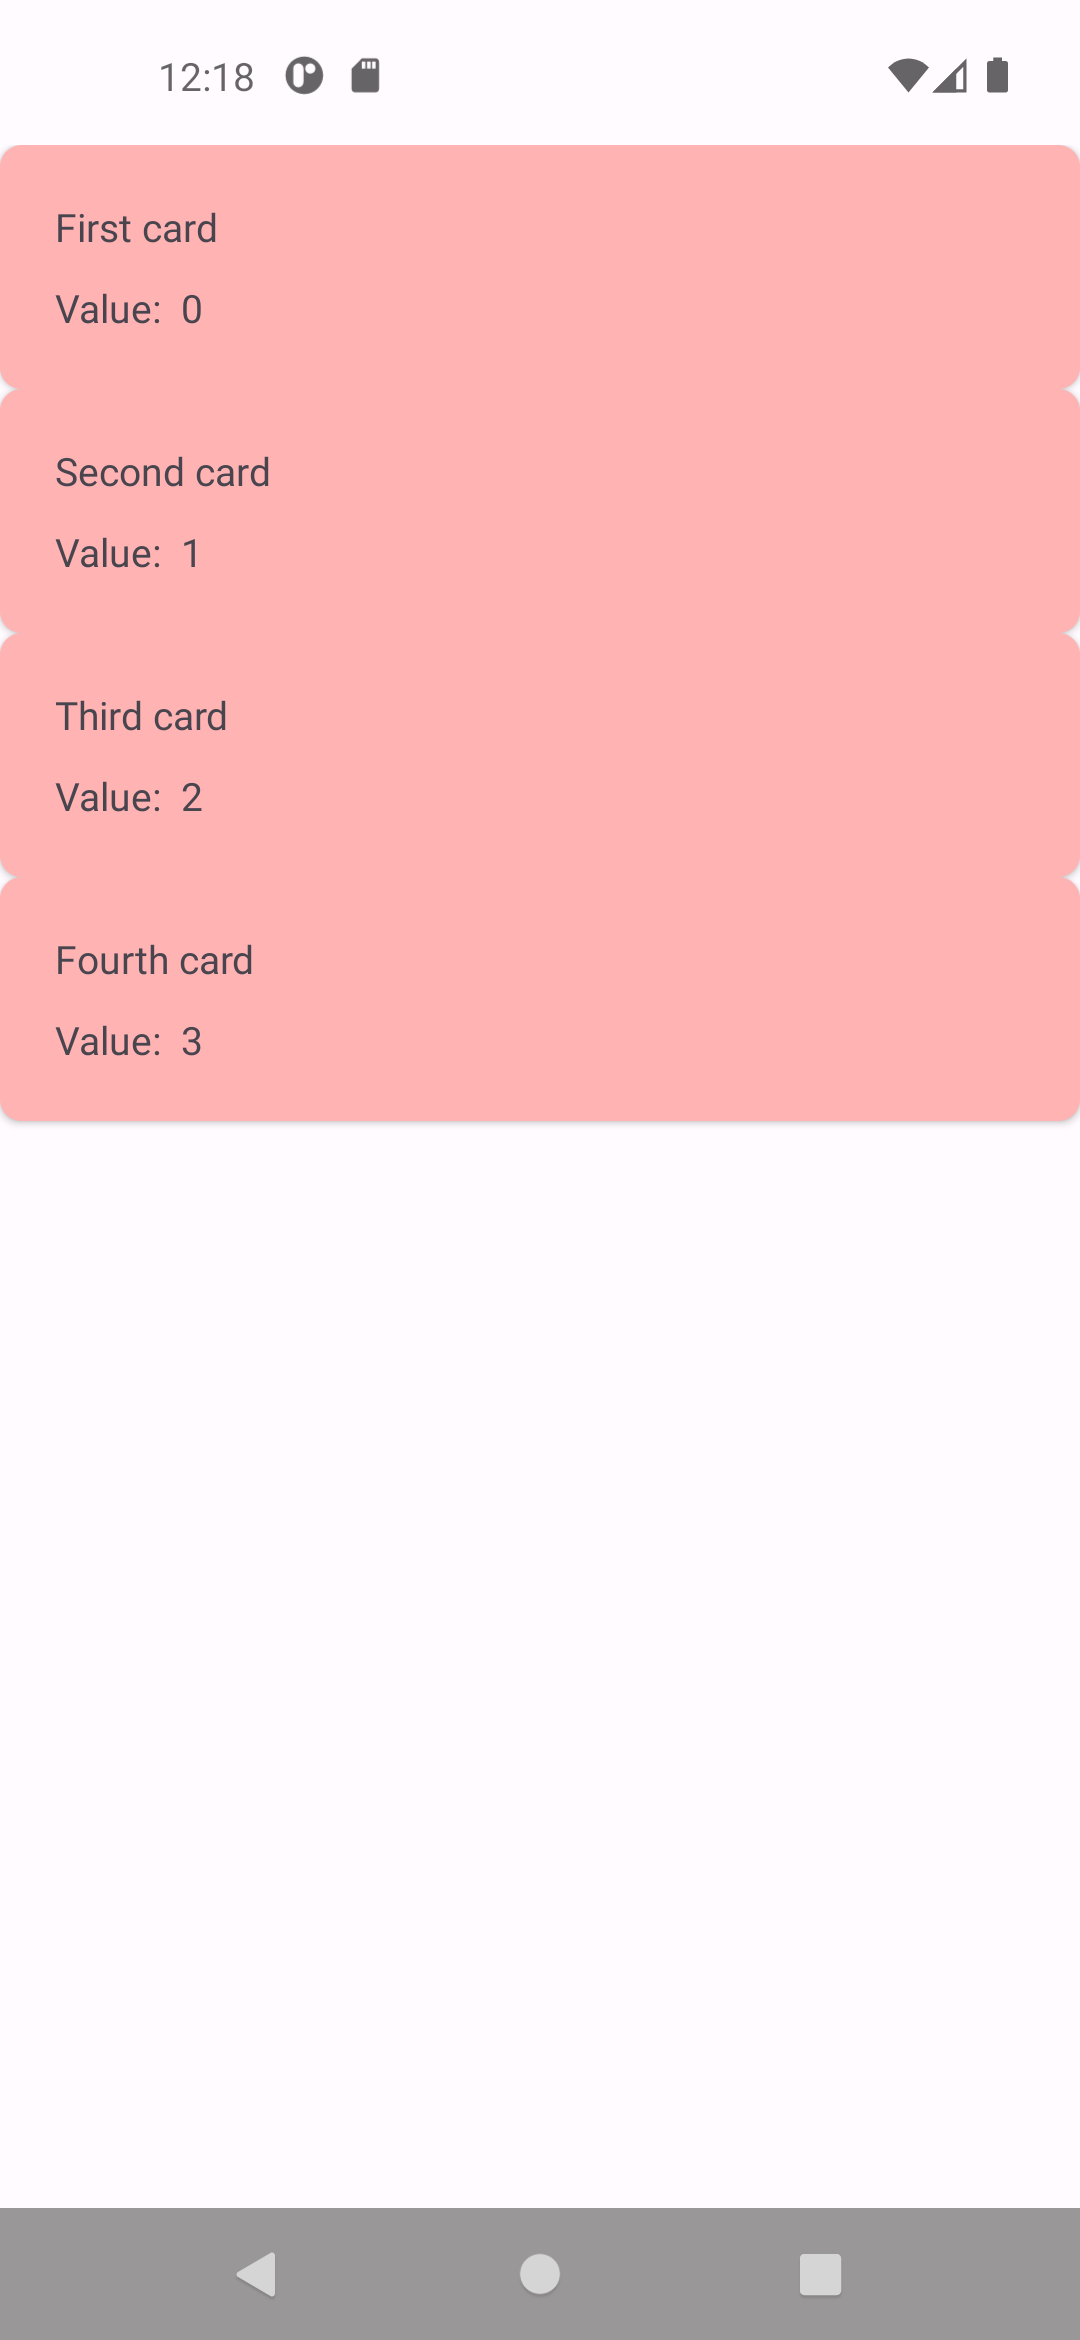
For this, we will create a RecyclerView itemDecoration so we can fix this issue. Using this, we can configure it in multiple ways. I added the way so you can find the first and last item in itemDecoration.
class ExempleDecoration : RecyclerView.ItemDecoration() {

    override fun getItemOffsets(outRect: Rect, view: View, parent: RecyclerView, state: RecyclerView.State) {
        super.getItemOffsets(outRect, view, parent, state)

        outRect.top = if (parent.getChildAdapterPosition((view)) == 0) 5.dpToPx() else 10.dpToPx()
        outRect.right = 20.dpToPx()
        outRect.left = 20.dpToPx()
        outRect.bottom = if (parent.getChildAdapterPosition((view)) == state.itemCount - 1) 8.dpToPx() else 10.dpToPx()
    }

    private fun Int.dpToPx(): Int = (this * Resources.getSystem().displayMetrics.density).toInt()
}
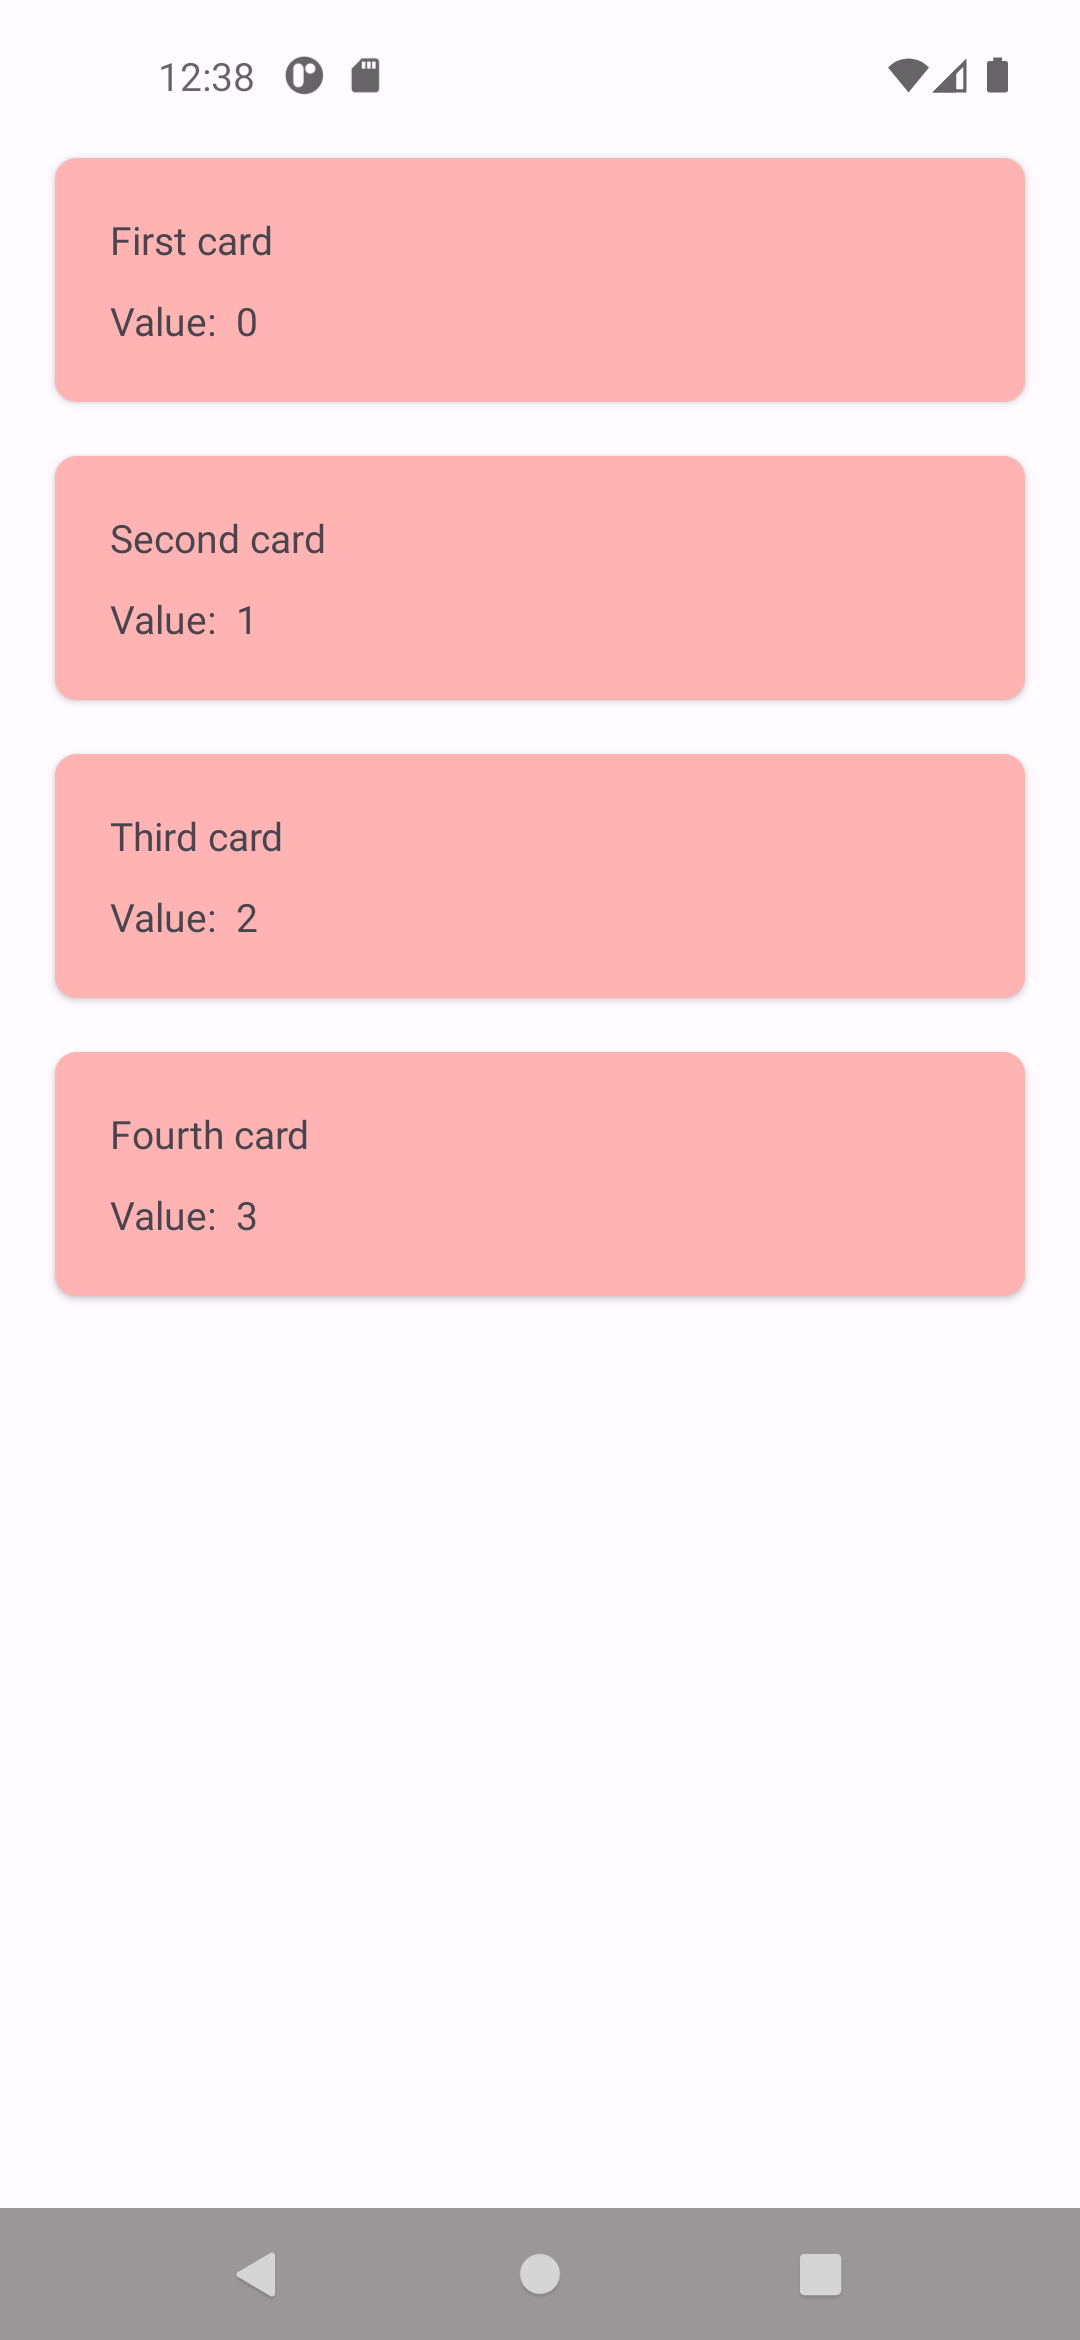
Now let’s add this itemDecoration in the RecyclerView and check the result:
 override fun onCreate(savedInstanceState: Bundle?) {
        super.onCreate(savedInstanceState)
        binding = ActivityMainBinding.inflate(layoutInflater)

        this.feedRecyclerView()
        this.addItemDecoration()

        setContentView(binding.root)
    }

    private fun feedRecyclerView() {
        binding.rvRecycler.adapter = ExampleAdapter(myAdapterList)
    }

    private fun addItemDecoration() {
        binding.rvRecycler.addItemDecoration(ExempleDecoration())
    }
}
Conclusion
Implementing RecyclerView with View Binding in Android Studio using Kotlin provides a more efficient and organized development experience. The combination of these technologies not only improves application performance when dealing with lists but also simplifies the code, making it more readable and easier to maintain. By adopting these practices, developers can create dynamic and effective user interfaces more efficiently.